How To Install An Outdoor Light Fixture On Stone?
Installing an outdoor light fixture on stone can be trickier than installing one on a wooden surface. However, with the right tools and a little know-how, it can be done with ease. The key to a successful installation is proper preparation and measurement.
First things first, it’s crucial to measure the area where you want to install the light fixture. Then, comes the size of the light fixture itself. This will ensure that the light fixture fits properly and that you know where to drill the pilot holes.
Additionally, it’s also vital to ensure that you have the right tools, such as a drill and a masonry bit. This is to make the installation process as smooth as possible. Today, I’ll walk you through the process step by step, from measuring the hole to drilling pilot holes and installing fasteners to ensure that you can install your outdoor light fixture on stone confidently.
So, let’s dig in…
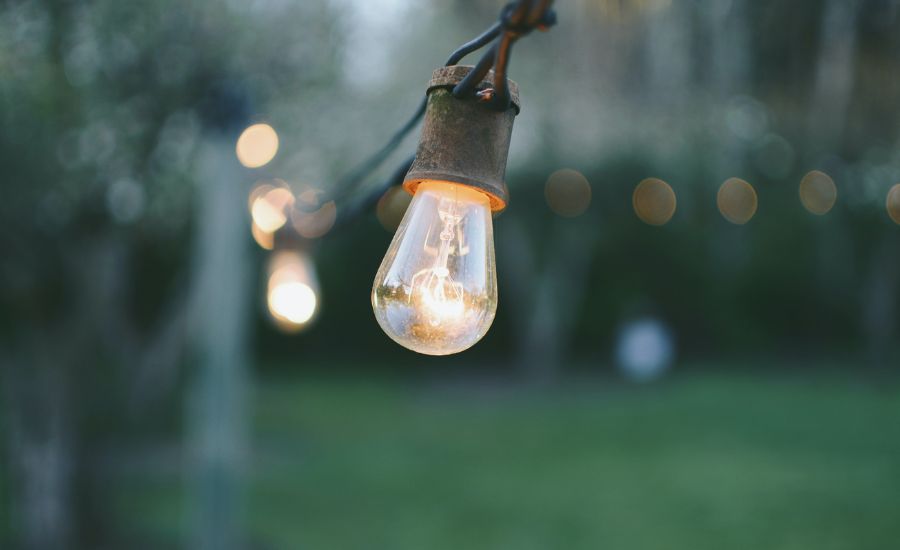
Step 1: Measure the hole.
Measure the length, width, and depth of the hole. This will help you determine how big a bulb you need to use in your outdoor light fixture.
Then, measure the height of your outdoor light fixture if it has one (most do).
Step 2: Cut the hole with a jigsaw.
To make the hole, use a jigsaw with a masonry blade. Most hardware stores or online retailers sell masonry blades designed to cut stone. So, the first step in installing an outdoor light fixture on the stone is to cut out the hole that will house the wiring and wires. It is to ensure that they do not obstruct any of your stones’ aesthetics!
Make sure that you don’t damage the surrounding stone when making this cut. Use saws made specifically for cutting through hard materials such as concrete or brickwork (but not soft sandstone). Be careful not to cut too deep into surrounding rock.
Else, it will cause uneven lines in areas where there was previously uniform—which could lead straight back into another problem down below: cracks!
Step 3: Make sure all edges are smooth.
- You should use a file or sandpaper to smooth the edges of your stone. If you can’t get them smooth enough, use spackle to cover any rough spots.
- Double-check to make sure all edges are smooth before continuing with the installation.
After your stone is completely dry, you can begin installing it. It’s best to use a stone adhesive to make the pieces come together. However, if you don’t have access to this product or don’t feel comfortable using it, feel free to use mortar instead.
Make sure both surfaces are clean and free of debris before starting installation.
Step 4: Cut around any metal framing in the area.
Once you have cut the metal, use a hacksaw to make the edge- cuts. You can also use a drill to make holes in the metal and file them down. Once you are done with this, it’s about time you start mounting the new fixture!
In case you’re mounting a chandelier, it is best to do it close to the center of the ceiling. In contrast, if you’re installing a pendant lamp, try mounting it on a chain or wire so you can hang it anywhere!
Step 5: Place the spare parts together and drill pilot holes.
- Drill a pilot hole in the exact location of your fastener hole.
- Make sure to use a pilot bit larger than your fastener. It will be easier to remove when you’re finished.
This will also prevent the wood from splitting when you put in your fastener. Once you have drilled your pilot hole, place your fastener and secure it with a hammer or mallet.
Step 6: Place fasteners into corresponding locations.
- Use a drill to make pilot holes, then secure the light fixture to the stone with a hammer, nails, or screws. Make sure you attach the fixture to the stone, not its frame! You can also use drywall anchors if you wish to!
- If you are attaching the fixture to the drywall, use an anchor for each screw.
Precautions to Take While Installing an Outdoor Light fixture
- You will need a jigsaw, and if the stone is very thick or has lots of nooks and crannies. you may also need an electric shaver to do this with precision.
- Take time when measuring the hole for your outdoor light fixture on stone. It’s better to ensure that it’s too big than too small!
- Cutting holes in stone can be tricky because most stones have no straight edges—they have angles, curves, and other irregularities that make cutting them hard. If possible, try using a diamond blade saw instead of a regular jigsaw blade. This will help prevent accidental cuts when making several narrow cuts at once (which tends to happen more often when using traditional tools). Ensure all edges are smooth before finishing off by sanding them down lightly with fine-grain sandpaper or emery cloth, so they don’t trap dirt. At the same time, they dry out after being painted later on down below ground level, where sunlight won’t reach until springtime comes around again next year. This means you will have plenty more time indoors doing fun stuffs like learning a new sport.
Final Words
There you go! Installing an outdoor light fixture on the stone is a great way to enhance the beauty and functionality of your patio or deck. Not only does it provide additional light for evening activities, but it also adds a touch of elegance to your outdoor space.
With so many lights available, you can easily find one that fits your style and preferences. Whether you prefer a traditional or modern look, you can be sure that your outdoor light fixture on the stone will provide a beautiful and functional addition to your home.
So, go ahead and enjoy the many benefits of an outdoor light fixture on stone and make the most of your outdoor living space.