How To Build An Outdoor Kitchen?
Building an outdoor kitchen can feel overwhelming at first, but it becomes much easier when you break it down into simple steps.
Most people want a space where they can cook, relax, and spend time with friends and family without running back and forth to the indoor kitchen.
You don’t need a huge yard or a big budget to make it happen.
You just need a clear plan.
Today, I am going to share a detailed guide to build your dreamy outdoor kitchen under your budget.
Inside, you’ll find practical outdoor kitchen ideas and tips you can actually use. From designing the layout, selecting material to the trendiest outdoor kitchen decor ideas that creates a warm and cozy vibe this summer.
You can think of this guide as your go-to playbook for building an outdoor kitchen that fits your space, your lifestyle, and the most crucial your budget without overcomplicating anything.
Ready to dive into the ideas that make your backyard feel intentional, functional, and genuinely fun.
Let’s get into the good stuff… now.
STEP 1: Planning Your Outdoor Kitchen
I’ve learned that planning is the part most people skip, but it’s actually what saves you the most money and stress later.
When you start your outdoor kitchen project, the key is to have a clear plan. It makes the whole process feel far more doable.
You don’t need fancy tools or a designer to start. Just sketch out a basic layout, set a budget, and think about how you want the space to vibe.
For me, it always comes down to how I’ll actually use the space.
Ask yourself:
Or just building a cozy chill zone?
Cooking for the family?
Hosting friends?
These 5 Things You Need to Think About
- A rough sketch of your layout
- A set budget
- Space for cooking, seating, and storage
- Weather in your area
- Materials that fit your style and budget
Many People love outdoor kitchens that feel organized, comfy, and personal.
Once you know what you want, everything else becomes easier and cheaper.
My best tip? Keep your plan simple. Start with the basics and add the fancy stuff later if you want.
STEP 2: Designing the Layout
Designing your outdoor kitchen starts with choosing a layout that actually fits your space.
Look at the shape of your deck, patio, or yard and pick the style that works best instead of forcing something that doesn’t fit.
If you have a narrow area or a spot under an awning, a straight layout is your best option. It’s space-efficient and typically comes in simple lengths like 4, 5, 6, or 8 feet.
But if you want to add more workspace or create a corner layout, an L-shape works especially well on rectangular patios and can be oriented left or right to fit naturally into your space.
A U-shape layout creates a full wraparound design, making it perfect for larger open areas or kitchens built under a pavilion.
If you have a long, narrow area, the galley layout gives you counters on both sides without wasting room.
Once you choose the shape, focus on efficiency.
Modular pieces make it easy to build the exact size you need.
A straight setup might use one module, while a U-shape connects two long pieces with a center section that can be 4, 5, 6, or 8 feet.
Break the kitchen into simple zones so everything works smoothly.
Keep cooking, prep, cleaning, serving, and storage areas clearly separated to make the whole space easier to use.
STEP 3: Selecting Materials
Choosing the right materials is one of the most important parts of building an outdoor kitchen because it completely shapes how long your space will last.
Even the most beautiful layout won’t hold up if the materials can’t handle sun, heat, moisture, or daily use outdoors.
Some materials look great at first but quickly break down outside.
Aluminum scratches and oxidizes, plastics fade and warp, and wood swells, cracks, or attracts insects.
Concrete and microcement stain easily and are too heavy for many patios, while marble and compact surfaces struggle with scratches, burns, and everyday spills.
These surfaces may work indoors, but outdoors they lose their strength fast.
That’s why choosing materials made specifically for outdoor conditions makes all the difference.
316 stainless steel is one of the best options for the structure because it stays strong in rain, humidity, heat, and even coastal air.
It’s the same material used in high-end kitchens and yachts, which tells you how reliable it is.
For countertops, outdoor-grade porcelain brings both beauty and durability.
It doesn’t stain, warp, or absorb moisture, and it stays smooth and clean no matter the weather.
You can find it in matte, glossy, stone-look, or textured finishes, letting you build a space that fits your style without sacrificing performance.
When you pick the right materials, your outdoor kitchen doesn’t just look good – it stays strong, practical, and effortless to maintain for years.
STEP 4: Utilities & Infrastructure
I see so many people planning outdoor kitchens without thinking about the utilities, and this is where most of the surprise costs show up.
The placement of your kitchen works just like choosing the best spot to sell crafts at a local fair.
The location affects everything.
When you build your kitchen close to your house, things become much easier because water, gas, and electricity lines are already nearby.
This saves a lot of money since you do not need long pipes or extra wiring.
It also makes daily cooking simple because you can use your indoor sink or fridge whenever you need to.
But when the kitchen is built farther away, the cost starts to rise.
You will need new utility lines, trenching, and sometimes a full set of outdoor appliances so you do not keep walking back and forth.
This is where many people get surprised by how quickly the budget increases.
Think of it like making a simple plant pot versus a large detailed ceramic piece.
One needs basic work, and the other needs more time, tools, and effort.
The same idea applies here.
Keeping your outdoor kitchen closer to your home helps you save money and makes everything easier to manage, while distant setups need more planning and more investment.
Once you understand this, it becomes much easier to design a kitchen that fits your space, your goals, and your budget without any unexpected trouble later.
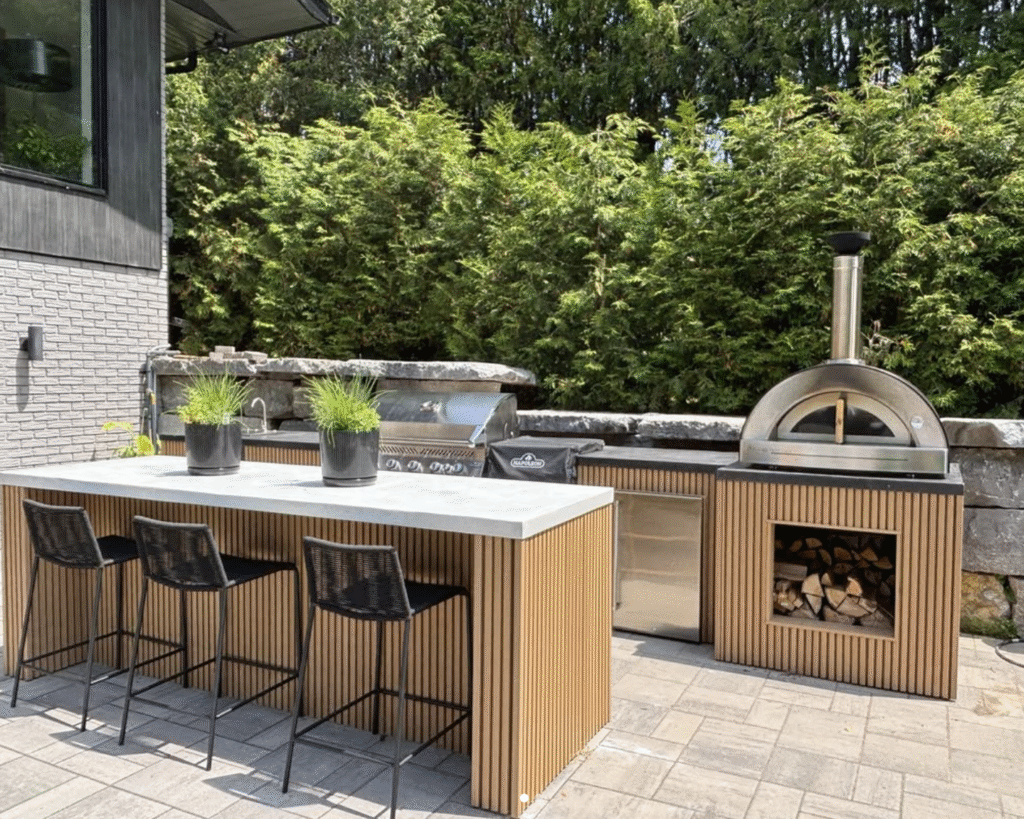
Outdoor Kitchen Ideas
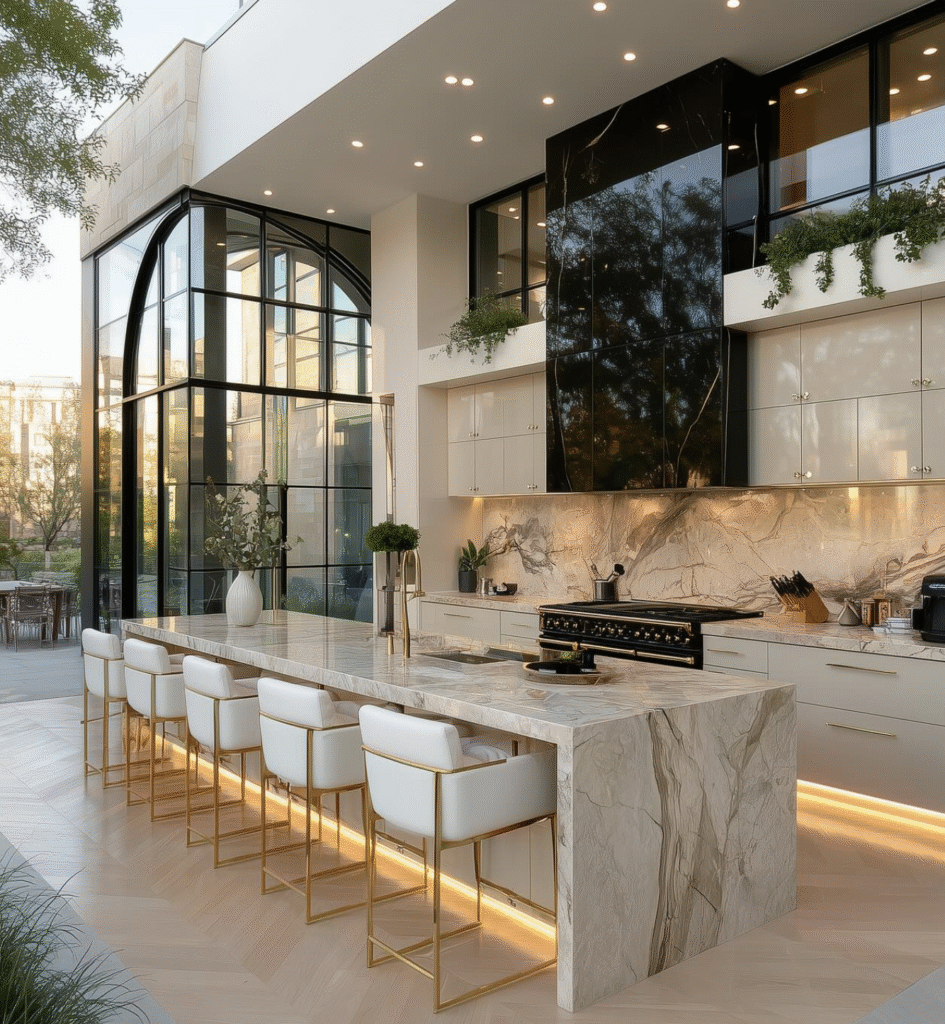
Slat Wood Wall + Marble Countertop